Table of Contents
ToggleA GFCI outlet tester is one of the simplest, most affordable tools a homeowner can own, and it could prevent a shock, electrocution, or fire. These small devices, usually under $15, tell you in seconds whether your ground fault circuit interrupter (GFCI) outlets are working correctly. If you’ve got GFCI outlets in kitchens, bathrooms, garages, or outdoor areas (and you should), testing them regularly isn’t optional. It’s part of basic home safety. This guide walks through what GFCI testers do, how to use them, and how to interpret the results so you can stay safe without hiring an electrician for every checkup.
Key Takeaways
- A GFCI outlet tester is an affordable, essential safety tool (typically $10–$25) that verifies whether your ground fault circuit interrupter outlets are functioning correctly and protecting against shocks and fires.
- GFCI outlets should be tested quarterly with a plug-in tester to ensure they cut power in response to ground faults, even though they may have tripped when using the built-in test button.
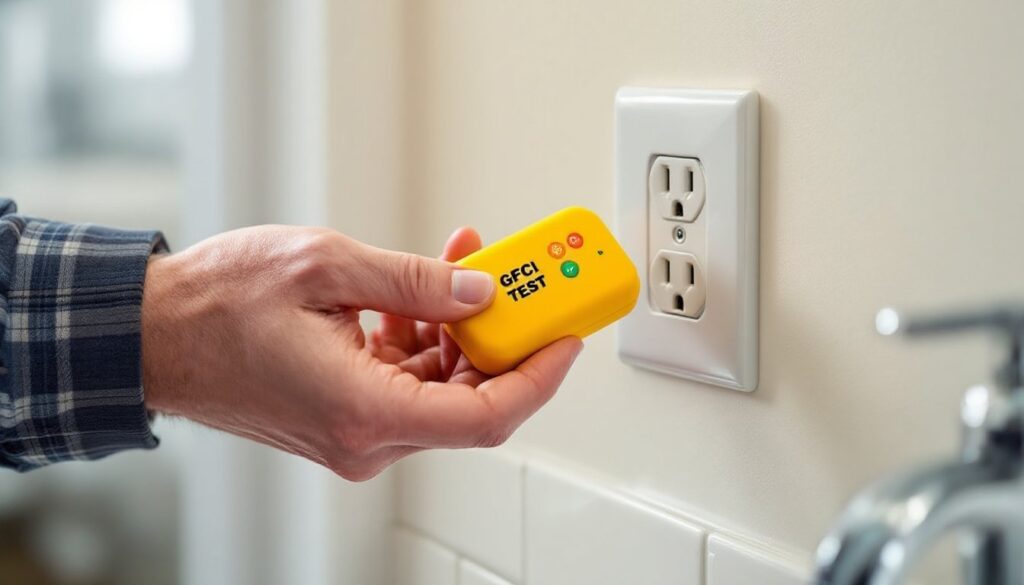
- When using a GFCI outlet tester, always press the tester’s GFCI button to simulate a ground fault and verify the outlet trips—skipping this step means you won’t know if the outlet provides real protection.
- Light patterns on the GFCI outlet tester reveal critical wiring issues: two lights indicate correct wiring, while single or mismatched lights signal dangerous problems like reversed polarity or missing ground connections that require repair.
- If a GFCI outlet shows correct wiring but doesn’t trip when tested, the outlet is defective and must be replaced immediately, as it provides power without protection.
- Common issues like frequent tripping, failure to reset, or warm/buzzing outlets warrant professional help, while simple testing and replacement can be handled by most homeowners with proper attention to safety precautions.
What Is a GFCI Outlet Tester and Why You Need One
A GFCI outlet tester is a handheld plug-in device that checks whether a GFCI outlet is properly wired and functioning. It uses indicator lights (usually three LEDs) to show correct wiring, reversed polarity, missing ground, and whether the GFCI trips when it should.
GFCI outlets are required by the National Electrical Code (NEC) in areas where water and electricity can meet, bathrooms, kitchens, laundry rooms, garages, crawl spaces, unfinished basements, and all outdoor receptacles. They’re also mandated within six feet of sinks and wet bars. But code compliance is only half the story. GFCIs degrade over time, especially in humid environments or from power surges, and a non-functional GFCI is worse than useless, it gives false confidence.
A tester costs between $10 and $25 depending on features. Basic three-light models work for most homeowners. Advanced testers include digital readouts, voltage displays, and AFCI (arc fault circuit interrupter) testing, but those features are overkill unless you’re doing electrical work professionally.
How GFCI Outlets Protect Your Home
GFCI outlets monitor the current flowing between the hot and neutral wires. When they detect even a 5-milliamp imbalance, roughly the amount that can cause a heart arrhythmia, they cut power in as little as 1/30th of a second. That’s faster than a standard circuit breaker, which only trips on overloads or short circuits, not ground faults.
Ground faults happen when current leaks outside the intended path, often through water, a damaged cord, or a person’s body. Without a GFCI, that current can pass through you to ground, causing injury or death. With a functioning GFCI, the outlet kills power before serious harm occurs.
GFCIs don’t last forever. Manufacturers generally recommend replacing them every 10 to 15 years, even if they appear to work. Testing every month (using the built-in test button) and quarterly with a plug-in tester ensures they’re still protecting you.
How to Use a GFCI Outlet Tester: Step-by-Step Instructions
Using a GFCI tester takes less than a minute per outlet. You don’t need electrical experience, but you do need to pay attention to the indicator lights.
Tools and materials:
- Three-light GFCI outlet tester
- Safety glasses (optional but recommended if working around older outlets with brittle plastic)
Step-by-step process:
-
Identify the GFCI outlets. Look for receptacles with “Test” and “Reset” buttons in the center. They’re usually beige, white, or ivory and slightly larger than standard outlets.
-
Plug the tester into the GFCI outlet. The prongs should slide in firmly. If the outlet is loose or cracked, don’t force it, that’s a separate issue requiring outlet replacement.
-
Read the initial lights. On a correctly wired, functioning outlet, you should see two amber (or yellow) lights indicating “Correct” wiring. Some testers use green LEDs. Consult your tester’s label, most print a reference chart directly on the body.
-
Press the GFCI test button on the tester (not the outlet). This simulates a ground fault. The GFCI outlet should immediately trip, cutting power. The tester lights will go out, and the outlet’s “Reset” button will pop out.
-
Press the Reset button on the outlet. Power should restore, and the tester lights should return to the “Correct” pattern.
-
Test downstream outlets if the GFCI protects other receptacles. A single GFCI can protect multiple outlets on the same circuit. Plug the tester into those outlets and repeat. They won’t have test/reset buttons, but they should still trip when you press the tester’s GFCI button.
Never bypass the test. If you only check the wiring lights and skip the trip test, you won’t know if the GFCI actually functions under fault conditions.
Understanding Your GFCI Tester Results
GFCI testers use combinations of three lights to indicate wiring status. While the exact labeling varies by brand, the pattern is standardized.
Common light patterns and meanings:
- Two lights (typically right and middle): Correct wiring, proper ground.
- All lights off (after pressing test button): GFCI tripped successfully, this is what you want.
- Single middle light only: Open ground. The ground wire is missing or disconnected. This is common in older homes and means the GFCI may not protect properly.
- Right light only: Open neutral. The neutral wire isn’t connected. The outlet is unsafe and needs immediate repair.
- Middle and left lights: Hot and neutral reversed (reverse polarity). The outlet may work but is miswired and dangerous. Many DIY projects covered on sites like Bob Vila stress the importance of proper wiring to avoid this.
- Left and right lights: Hot and ground reversed. Extremely dangerous. Do not use the outlet.
- All three lights: Multiple wiring faults. Call an electrician.
What if the GFCI doesn’t trip?
If the outlet shows correct wiring but doesn’t trip when you press the tester’s GFCI button, the GFCI is defective. It’s providing power but not protection. Replace the outlet immediately. This is a critical safety failure.
What if the Reset button won’t stay in?
The GFCI has likely failed internally or there’s a persistent ground fault downstream. Unplug everything on that circuit and try resetting. If it still won’t reset, the outlet needs replacement.
Choosing the Right GFCI Tester for Your Home
Most homeowners only need a basic three-light plug-in tester. They’re durable, require no batteries, and give instant feedback. Brands like Sperry, Klein Tools, and Gardner Bender make reliable models under $15.
Features to consider:
- Three-light vs. digital display: Three-light testers are simpler and less prone to failure. Digital models show exact voltage and can detect nuanced faults, but they cost $30–$60 and aren’t necessary for routine testing.
- GFCI test button: Essential. Verify your tester has this function: not all three-light testers include it.
- Outlet type compatibility: Standard testers fit 120-volt, 15- or 20-amp three-prong outlets. If you have older two-prong outlets, you’ll need an adapter (though those outlets should be upgraded to GFCI protection anyway).
- Durability: Look for impact-resistant plastic housing. Testers get dropped, stepped on, and buried in toolboxes.
When to upgrade to an advanced tester:
If you’re doing electrical work beyond simple testing, installing outlets, troubleshooting circuits, or flipping houses, consider a multi-function tester that checks AFCI outlets, measures voltage, and identifies specific wiring errors. Professionals often use models from Fluke or Ideal, which run $50–$150 but offer forensic-level diagnostics.
For the average homeowner testing a dozen outlets twice a year, a $12 plug-in tester is all you need. Spend the savings on a decent voltage detector or non-contact tester for other safety checks, as recommended in many guides on Family Handyman.
Common GFCI Problems and Troubleshooting Tips
GFCI outlets can fail for several reasons. Understanding the symptoms helps you decide whether it’s a quick fix or a job for a pro.
Problem: GFCI trips frequently with nothing plugged in.
Likely cause: Moisture infiltration, damaged wiring insulation, or a failing GFCI. Outdoor and bathroom GFCIs are especially prone to moisture issues. Let the outlet dry out for 24 hours. If tripping continues, replace the GFCI.
Problem: GFCI won’t reset after tripping.
Likely cause: Persistent ground fault on the circuit or internal GFCI failure. Unplug all devices on that circuit. Try resetting. If it still won’t latch, the outlet is toast. Wear gloves and safety glasses when removing a failed GFCI, internal components can be corroded or damaged.
Problem: Tester shows reversed polarity.
Likely cause: Hot and neutral wires were swapped during installation. This is common in DIY installs. Turn off the breaker, remove the outlet cover, and swap the black (hot) and white (neutral) wires. If you’re not comfortable working inside a live panel or junction box, hire a licensed electrician.
Problem: Open ground indication.
Likely cause: Missing or disconnected ground wire. Older homes wired with two-wire Romex (no ground) often show this. You can install a GFCI on an ungrounded circuit for shock protection, but it must be labeled “No Equipment Ground.” The GFCI will still cut power on a ground fault, but connected devices won’t have the added protection of a ground path.
Problem: GFCI outlet is warm or makes a buzzing sound.
Likely cause: Loose wire connection or internal arcing. Turn off the breaker immediately. This is a fire hazard. Don’t attempt to reset or test, call an electrician.
When to Call a Professional Electrician
You can test and replace GFCI outlets yourself in most jurisdictions, but some situations require a licensed electrician:
- Multiple outlets on the same circuit show wiring faults. This suggests upstream problems in the panel or junction box.
- You’re uncomfortable working with live electricity. There’s no shame in hiring out. A shock can kill, and electrical fires cause thousands of home losses annually.
- Local code requires permits for outlet replacement. Some municipalities require permits and inspections for any electrical work, even receptacle swaps. Check with your local building department.
- The circuit breaker trips when you test the GFCI. This indicates a short circuit or overload separate from the GFCI function. Diagnosing this requires a multimeter and circuit tracing, which goes beyond basic DIY.
- You find aluminum wiring. Homes built between 1965 and 1973 may have aluminum branch circuit wiring, which requires special connectors and techniques. Don’t attempt GFCI replacement on aluminum wiring without proper training.
Regular testing with a GFCI outlet tester keeps your family safe and catches problems before they become emergencies. Test every GFCI in your home quarterly, it takes ten minutes and costs nothing once you own the tester. Mark it on your calendar alongside smoke detector checks and furnace filter changes. Electrical safety isn’t glamorous, but it’s the foundation of a well-maintained home.